Category: Uncategorized

  • How to Plan a Tinkercad Lesson in One Class Period

    How to Plan a Tinkercad Lesson in One Class Period

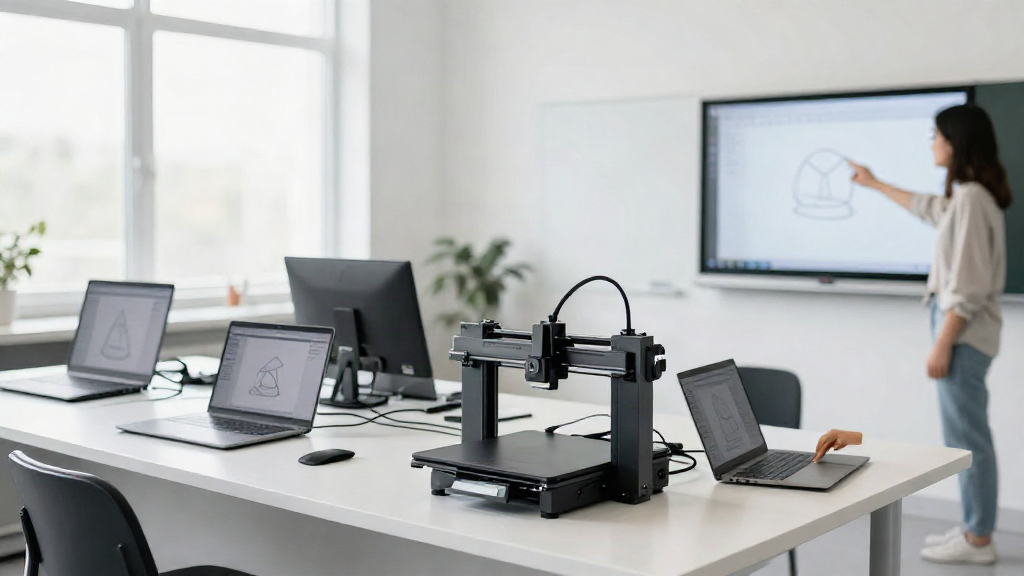
    A good Tinkercad lesson plan does not need a whole week of prep behind it. It needs one clear design goal, five minutes of setup thinking, and a sequence you can actually finish before the bell. If you have ever tried to squeeze 3D design into a single class period and watched the clock win, this guide is for you.

    Below is a repeatable structure you can drop any beginner 3D printing project into. You will see what to check before students open a laptop, how to pace a 40 to 50 minute period from demo to student build to export, and how to keep a room full of mixed skill levels moving at the same time.

    What Students Need Before They Open Tinkercad

    Most of the chaos in a first Tinkercad session does not come from the design tool. It comes from logins, shared devices, and unclear expectations. Run this five-minute readiness check before the lesson starts and most of that disappears.

    First, confirm every student can log in. If you use class codes or a shared account list, test two or three logins from a student device yourself, not just from your teacher machine. A broken login discovered at minute ten can eat the whole period.

    Second, decide what finished looks like for this lesson. One simple shape counts. A name keychain counts. A design that fits inside a 40 millimeter box counts. Pick one outcome and say it out loud, so students know when to stop tinkering and start exporting.

    Third, set the ground rules in one short list: no deleting another student’s work, keep the default origin point, and ask a neighbor first before raising a hand. Post the list where students can see it. A visible expectation works better than repeating it five times.

    Fourth, have a ready-task for early finishers. A short second challenge, like resizing their design to half scale or adding one hole, keeps fast students busy while slower ones catch up.

    A Period-by-Period Tinkercad Lesson Plan

    Here is a sequence that fits a standard 40 to 50 minute class. Adjust the numbers to your schedule, but keep the shape of it: short hook, short demo, long build, quick export.

    Minutes 0 to 5: Hook and goal

    Open with the outcome, not the software. Show a printed example or a photo of one, then name today’s goal in one sentence. Students should hear what they are making and why it matters before they touch a mouse.

    Minutes 5 to 12: Teacher demo

    Project your screen and build the whole object once, narrating as you go. Keep it slow and boring on purpose. Drag one shape, resize it, add one second shape, group them, then export. Seven minutes is enough if you resist the urge to show every tool Tinkercad has.

    Minutes 12 to 35: Student build

    Students repeat what they just watched, with the demo still visible on the projector or a screen recording. Circulate on a loop rather than parking at one desk. Most questions in this stretch are the same three or four, so answer each one out loud to the whole room as it comes up.

    Minutes 35 to 45: Export and share

    Stop building with ten minutes left, even if some designs are unfinished. Walk the class through export together: click Export, choose the file type you need, and name the file with the student’s name or class number. Collect the files in one shared folder so nothing gets lost between periods.

    Minutes 45 to 50: Cleanup routine

    Close with the same routine every time: save or export, log out, return devices, and reset the workspace. A fixed ending makes the next Tinkercad lesson start faster because students already know what the last five minutes look like.

    How to Handle Mixed Skill Levels

    In almost every class, some students will race ahead and others will still be hunting for the resize handles. Plan for that instead of fighting it. Pair a confident student with a beginner for the build block, and let the pair share one screen for the first ten minutes.

    For students who finish early, hand them the ready-task you prepared and let them extend their own design. For students who are stuck, keep one printed or projected reference image of the finished object at each table. A picture answers the question ‘what am I supposed to be making’ faster than a verbal explanation.

    If a student truly cannot get started, give them a single concrete first action. ‘Drag one box onto the workspace and make it 20 by 20 by 20’ is easier to act on than ‘start designing your object.’ Small, specific steps keep beginners from freezing.

    Keeping the Lesson on Schedule

    The main reason a Tinkercad lesson runs long is that the demo grows. Treat the seven-minute demo as a hard limit and practice it once before class. If a feature is not part of today’s outcome, leave it for next time.

    Set visible time markers as you go. Announce the halfway point and the ten-minute warning out loud. Students pace themselves better when they know how much time is left, and you avoid the rush at the end when someone is still trying to remember where Export lives.

    Finally, keep the goal small. One shape, one idea, one finished file is a complete lesson. Save the ambitious multi-part projects for a second session, once the routine and the logins are already familiar.

    Run this same structure next week with a slightly harder object and you will notice the setup time shrink and the build time grow. That is the point: a Tinkercad lesson plan is not about covering everything, it is about finishing something together in the time you actually have.
  • Beginner 3D Printing Projects for the Classroom | 5 Prints

    Beginner 3D Printing Projects for the Classroom | 5 Prints

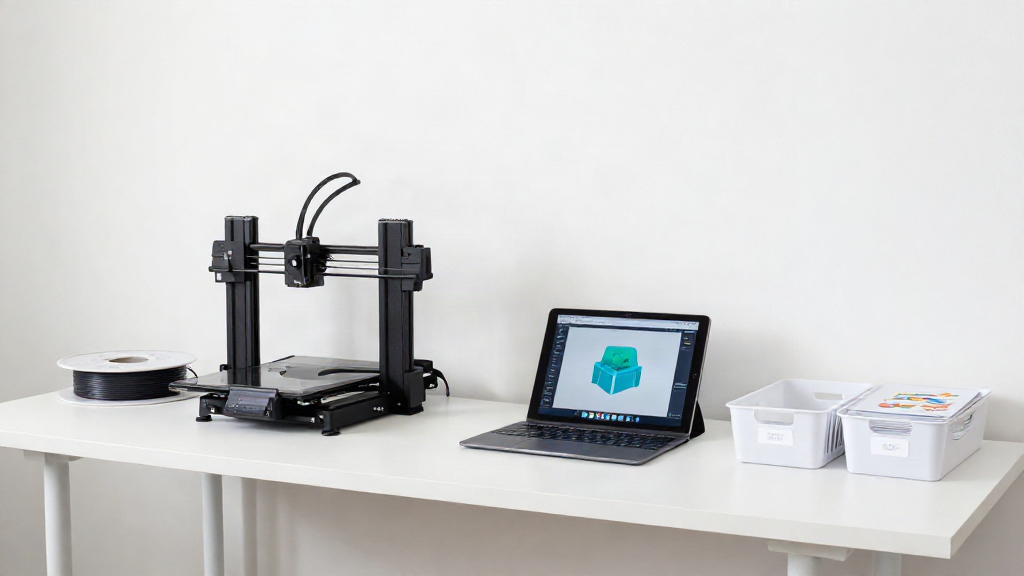
    If you have ever stood beside a 3D printer while a whole class watches a print curl up off the bed, you know the stakes. Your first classroom print is not really about the machine. It is about giving students a small win they can hold in their hands, and giving yourself a routine you can repeat next week without re-learning the whole setup.

    That is exactly why the five beginner 3D printing projects below are chosen for classrooms first. Each one prints flat, needs no supports, finishes in a single class period or overnight, and uses only a few grams of filament. Each one also teaches a different skill, so by the time you finish the set, you and your students will understand design basics, tolerances, and print setup together.

    Why These Five Prints Work for First-Time Classrooms

    Every project here follows the same rules. It sits flat on the build plate so it cannot wobble or warp. It prints in PLA, the most forgiving filament for schools. It runs in under two hours so it fits a lesson or an overnight job. And it has a clear purpose students can personalize, which keeps them engaged while the printer works.

    Save these settings once as a classroom profile and reuse them for all five: nozzle 200C, bed 60C, layer height 0.2 mm, infill 20 percent, three walls, and a skirt or brim for bed adhesion. Those numbers are the reason these prints almost always come out clean on a well-leveled machine.

    Project 1: A Personalized Name Tag or Bag Tag

    A flat rectangle with a hole for a keyring or lanyard is the safest possible first print. Students design their own initials in Tinkercad in about ten minutes, which teaches them how to place, resize, and combine simple shapes without any prior CAD experience.

    Print it flat with the text facing up. Time: roughly 25 minutes per tag. Material: about 5 grams of filament. What it teaches: 3D text, centering, and how fine detail actually looks on a first layer.

    Project 2: A Flat Phone or Tablet Stand

    This is the print students will still be using next semester, which makes it a favorite. A single wedge with a small front lip holds a phone at a comfortable reading angle. In Tinkercad, start from a box, cut a groove with a second box, and add a thin lip in front.

    Lay the stand on its side so it prints as one solid piece with no supports. Time: about 45 minutes. Material: about 15 grams. What it teaches: cutting shapes out of others, and how layer direction affects strength.

    Project 3: A Desk Cable Clip

    A C shaped clip that snaps onto the edge of a desk keeps charging cords from sliding to the floor. It is tiny, fast, and endlessly practical, which makes it a great demo print when you only have twenty minutes of class time left.

    Print a few at once on the same plate. Time: about 12 minutes each. Material: under 4 grams. What it teaches: how clearances and tolerances work, because a clip that is too tight will not snap on and one that is too loose will not stay put.

    Project 4: A Two-Piece Puzzle or Tangram Set

    This project adds a second part, which is a gentle step up. Students design a simple shape and its matching cutout so the two pieces fit together, then print both in one run. Chinese tangram tiles are an easy starting point because the shapes are simple squares and triangles.

    Print flat with the pieces spaced apart on the plate. Time: about 35 minutes for the set. Material: about 12 grams. What it teaches: designing in pairs, and how a small gap between parts keeps them from fusing together.

    Project 5: A Mini Planter or Pencil Cup

    The final project is a real container, which feels like a milestone. A small cylindrical cup prints with no supports as long as the walls are vertical, and students can decorate the outside with their own initials or patterns. It doubles as a pencil cup for your desk or a planter for a classroom seedling.

    Print it standing up, upgrade infill to 15 percent, and add a brim if the base is thin. Time: about 90 minutes. Material: roughly 30 grams. What it teaches: wall thickness, infill, and why tall prints need good bed adhesion.

    How to Run the Lesson With Students

    Start with one shared print so the whole class can watch the first layer go down. That single moment answers half the questions students have, and it builds the patience they will need while their own parts run. Then move into design time in Tinkercad while the printer works in the background. If you have only one printer, queue the class in small groups and let one project run overnight so there is always something new on the plate at the start of the next lesson.

    Keep a simple log of what worked. After three or four prints you will have your own classroom tested settings, and you will stop guessing.

    The Mistakes That Cause Most Failed First Prints

    Nearly every failed first print comes down to a short list you can prepare for. A dirty or unleveled bed is the number one culprit, so wipe the plate with isopropyl alcohol and run a leveling check before each class. A model that starts as loose shapes and never gets grouped will fall apart in the slicer, so remind students to group their parts before exporting. Text that is too small or too thin simply disappears, so keep lettering at least two millimeters wide. And a print pulled off the plate while the bed is still hot will bend, so let parts cool before anyone lifts them.

    None of these are hard to fix, and none of them will stop you. They are just the small habits that separate a frustrating first week from a smooth one.

    Your Next Step

    Pick one project, save the settings above, and run it with your next class. Once the first print succeeds, the rest of the year gets easier, because you will have a repeatable routine and a shelf of student made parts to prove it. If you want step by step walkthroughs, ready made Tinkercad starter files, and a classroom 3D printing safety checklist, our classroom ready STEM maker guides are built exactly for this first win.

  • Classroom 3D Printing Safety Checklist for K-12 Teachers

    Classroom 3D Printing Safety Checklist for K-12 Teachers

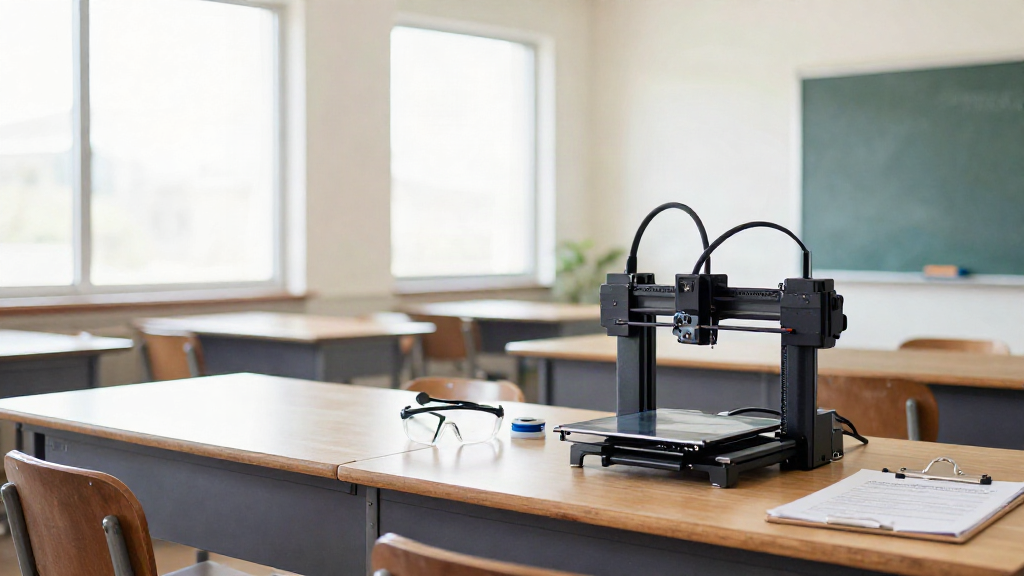
    Classroom 3D Printing Safety Checklist: What K-12 Teachers Need to Confirm Before the First Print

    Your first class print day is exciting, and it is also the moment a few small decisions matter most. A classroom 3D printing safety checklist turns that nervous energy into a calm routine you can repeat every time you run the machine. You do not need to become a technician to do this well. You need a short list, confirmed once, that keeps students safe, protects the printer, and lets you get back to teaching.

    This guide walks through the room, material, and people checks that matter for beginners. It ends with a printable pre-print routine your students can follow alongside you, so safety becomes something the whole class runs together instead of a rule you have to enforce alone.

    Why a written safety checklist matters before your first class print day

    A 3D printer is not dangerous when you understand it, but it is genuinely new to most K-12 classrooms. The nozzle and heated bed reach temperatures that can burn, some materials release fumes when heated, and the machine moves on its own while it runs. A written checklist removes the guesswork from all of that.

    The bigger reason to write it down is consistency. When the same steps happen in the same order every time, students learn them quickly and can help run them. You also have a clear document if an administrator, parent, or safety lead asks how your makerspace is managed. That single page answers the question before it becomes a meeting.

    A word on materials: PLA, the most common beginner filament, is widely considered the easiest and lowest-odor choice for classrooms. That is where most teachers start, and it is where this checklist points you. Always confirm your own district’s safety policy and the manufacturer’s guidance for any material before you load it.

    The room checks: ventilation, surfaces, and fire basics

    Confirm these before a printer ever turns on:

    • Ventilation: the printer sits in a space with good airflow, ideally near a window or an exhaust path that can run during prints. Avoid small, closed rooms.
    • Surface: the printer rests on a stable, non-flammable surface that will not wobble. Keep the area clear of paper piles, fabric, and backpacks.
    • Distance: curious hands stay an arm’s length back while the machine is running. Set the printer so students reach it only with you.
    • Electrical: the printer plugs into a grounded outlet sized for the machine, with no daisy-chained power strips or extension cords running across walking paths.
    • Fire readiness: know where the nearest extinguisher is and which type it is. Keep flammable items away from the heated parts.
    • Clear path: you can reach the printer’s power switch and plug at any time without moving furniture.

    None of this requires a lab build-out. It requires ten minutes of looking at the space as a safety lead would and fixing anything that gives you pause.

    The material checks: filaments, temperature, and safe handling

    Materials are where beginners get surprised, so keep this part simple.

    • Start with PLA: it prints at lower temperatures than most alternatives and is the friendliest classroom option. Confirm your chosen filament with your supplier’s safety data.
    • Know the temperatures: the nozzle and bed get hot enough to burn skin on contact. Never clear a print or check filament with bare fingers while the machine is warm.
    • Store it dry: filament absorbs moisture from the air, which ruins prints. Keep spools sealed when not in use.
    • Use the right tool: remove prints with the supplied scraper, never with hands. Cut filament with the cutter, not scissors that wander toward the hot end.
    • Check for damage: a frayed cord, a cracked bed, or a loose heater wire means stop and inspect before the next print.

    If you ever smell a sharp chemical odor or see smoke, stop the print, switch the machine off at the plug, and ventilate the room. Report it rather than restarting and hoping.

    The people checks: supervision, rules, and clear roles

    The safest classroom is one where students know exactly what they may and may not touch.

    • Always supervise: prints run with a teacher or trained adult present. For beginners, that is non-negotiable.
    • Assign roles: give students clear jobs, such as watching the first layer, keeping the area clear, or logging the print in a class journal.
    • Teach the no-touch zone: hot end, heated bed, moving parts, and internal wiring are off-limits unless you are guiding a student through it.
    • Wash hands: handle filament and finished prints, then wash up before eating. Some filament may contain pigments worth keeping away from snacks.
    • Model it yourself: wear safety glasses when you trim or clear a print, and students will follow.

    A printable pre-print routine students can follow with you

    Write this on the board or laminate it by the printer, and read it aloud together the first few times:

    1. Printer sits stable, area clear, nothing flammable nearby.
    2. Ventilation on: window or exhaust running.
    3. Filament loaded, spool dry, correct material confirmed.
    4. Bed and nozzle checked for debris and damage.
    5. Everyone knows the no-touch zone before the start button.
    6. Watch the first layer together, then you keep watch while it runs.
    7. When the print finishes, let it cool, remove it with the scraper, and wash hands.

    Run this out loud for the first three prints. After that, a student can lead the read-through while you check the machine. That handoff is the moment your STEM maker routine starts paying you back.

    Troubleshooting your first print day without skipping safety

    Beginner print day rarely goes perfectly, and that is normal. If the first layer will not stick, address it on a cool machine, not a hot one. If a print tangles into a blob, pause the job and let the nozzle cool before you touch anything. If a print fails halfway, treat it as a teaching moment about problem-solving rather than a reason to rush the next attempt.

    Keep a simple log of what worked, what failed, and why. After a few prints you will have a short list of settings that suit your room, and setup will shrink from twenty minutes to five.

    Building the checklist into your weekly STEM maker routine

    The goal of a classroom 3D printing safety checklist is not paperwork. It is a repeatable setup that lets you run the printer confidently and pass that confidence to your students. Confirm the room, the material, and the people once, then reuse the same pre-print routine every time.

    Start with PLA, run one simple class project, and let the checklist carry the safety load. You will spend your energy on the lesson instead of the anxiety, and your students will leave knowing how to treat real tools with respect. That is a lesson worth more than any single print.