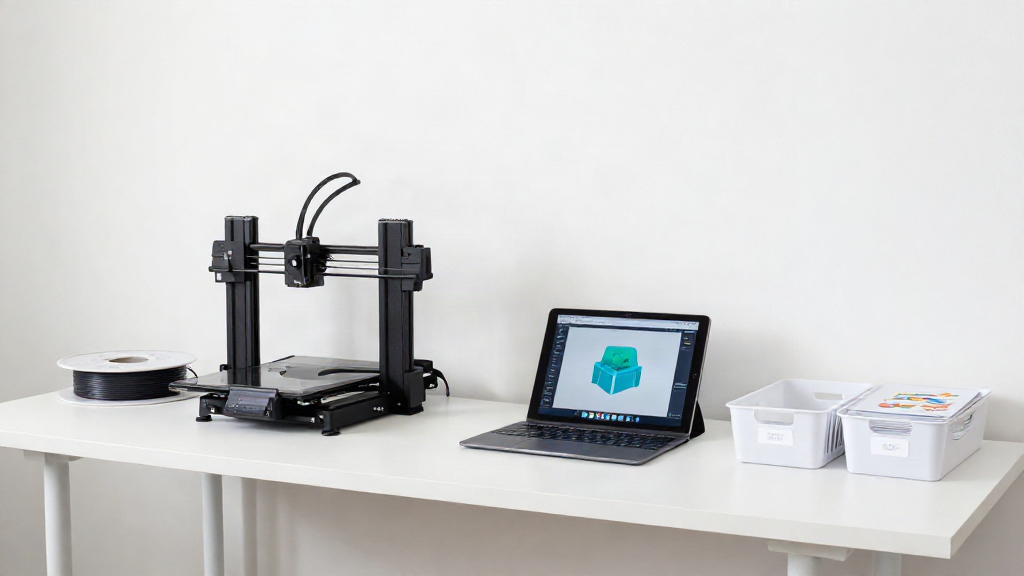
If you have ever stood beside a 3D printer while a whole class watches a print curl up off the bed, you know the stakes. Your first classroom print is not really about the machine. It is about giving students a small win they can hold in their hands, and giving yourself a routine you can repeat next week without re-learning the whole setup.
That is exactly why the five beginner 3D printing projects below are chosen for classrooms first. Each one prints flat, needs no supports, finishes in a single class period or overnight, and uses only a few grams of filament. Each one also teaches a different skill, so by the time you finish the set, you and your students will understand design basics, tolerances, and print setup together.
Why These Five Prints Work for First-Time Classrooms
Every project here follows the same rules. It sits flat on the build plate so it cannot wobble or warp. It prints in PLA, the most forgiving filament for schools. It runs in under two hours so it fits a lesson or an overnight job. And it has a clear purpose students can personalize, which keeps them engaged while the printer works.
Save these settings once as a classroom profile and reuse them for all five: nozzle 200C, bed 60C, layer height 0.2 mm, infill 20 percent, three walls, and a skirt or brim for bed adhesion. Those numbers are the reason these prints almost always come out clean on a well-leveled machine.
Project 1: A Personalized Name Tag or Bag Tag
A flat rectangle with a hole for a keyring or lanyard is the safest possible first print. Students design their own initials in Tinkercad in about ten minutes, which teaches them how to place, resize, and combine simple shapes without any prior CAD experience.
Print it flat with the text facing up. Time: roughly 25 minutes per tag. Material: about 5 grams of filament. What it teaches: 3D text, centering, and how fine detail actually looks on a first layer.
Project 2: A Flat Phone or Tablet Stand
This is the print students will still be using next semester, which makes it a favorite. A single wedge with a small front lip holds a phone at a comfortable reading angle. In Tinkercad, start from a box, cut a groove with a second box, and add a thin lip in front.
Lay the stand on its side so it prints as one solid piece with no supports. Time: about 45 minutes. Material: about 15 grams. What it teaches: cutting shapes out of others, and how layer direction affects strength.
Project 3: A Desk Cable Clip
A C shaped clip that snaps onto the edge of a desk keeps charging cords from sliding to the floor. It is tiny, fast, and endlessly practical, which makes it a great demo print when you only have twenty minutes of class time left.
Print a few at once on the same plate. Time: about 12 minutes each. Material: under 4 grams. What it teaches: how clearances and tolerances work, because a clip that is too tight will not snap on and one that is too loose will not stay put.
Project 4: A Two-Piece Puzzle or Tangram Set
This project adds a second part, which is a gentle step up. Students design a simple shape and its matching cutout so the two pieces fit together, then print both in one run. Chinese tangram tiles are an easy starting point because the shapes are simple squares and triangles.
Print flat with the pieces spaced apart on the plate. Time: about 35 minutes for the set. Material: about 12 grams. What it teaches: designing in pairs, and how a small gap between parts keeps them from fusing together.
Project 5: A Mini Planter or Pencil Cup
The final project is a real container, which feels like a milestone. A small cylindrical cup prints with no supports as long as the walls are vertical, and students can decorate the outside with their own initials or patterns. It doubles as a pencil cup for your desk or a planter for a classroom seedling.
Print it standing up, upgrade infill to 15 percent, and add a brim if the base is thin. Time: about 90 minutes. Material: roughly 30 grams. What it teaches: wall thickness, infill, and why tall prints need good bed adhesion.
How to Run the Lesson With Students
Start with one shared print so the whole class can watch the first layer go down. That single moment answers half the questions students have, and it builds the patience they will need while their own parts run. Then move into design time in Tinkercad while the printer works in the background. If you have only one printer, queue the class in small groups and let one project run overnight so there is always something new on the plate at the start of the next lesson.
Keep a simple log of what worked. After three or four prints you will have your own classroom tested settings, and you will stop guessing.
The Mistakes That Cause Most Failed First Prints
Nearly every failed first print comes down to a short list you can prepare for. A dirty or unleveled bed is the number one culprit, so wipe the plate with isopropyl alcohol and run a leveling check before each class. A model that starts as loose shapes and never gets grouped will fall apart in the slicer, so remind students to group their parts before exporting. Text that is too small or too thin simply disappears, so keep lettering at least two millimeters wide. And a print pulled off the plate while the bed is still hot will bend, so let parts cool before anyone lifts them.
None of these are hard to fix, and none of them will stop you. They are just the small habits that separate a frustrating first week from a smooth one.
Your Next Step
Pick one project, save the settings above, and run it with your next class. Once the first print succeeds, the rest of the year gets easier, because you will have a repeatable routine and a shelf of student made parts to prove it. If you want step by step walkthroughs, ready made Tinkercad starter files, and a classroom 3D printing safety checklist, our classroom ready STEM maker guides are built exactly for this first win.
Leave a Reply