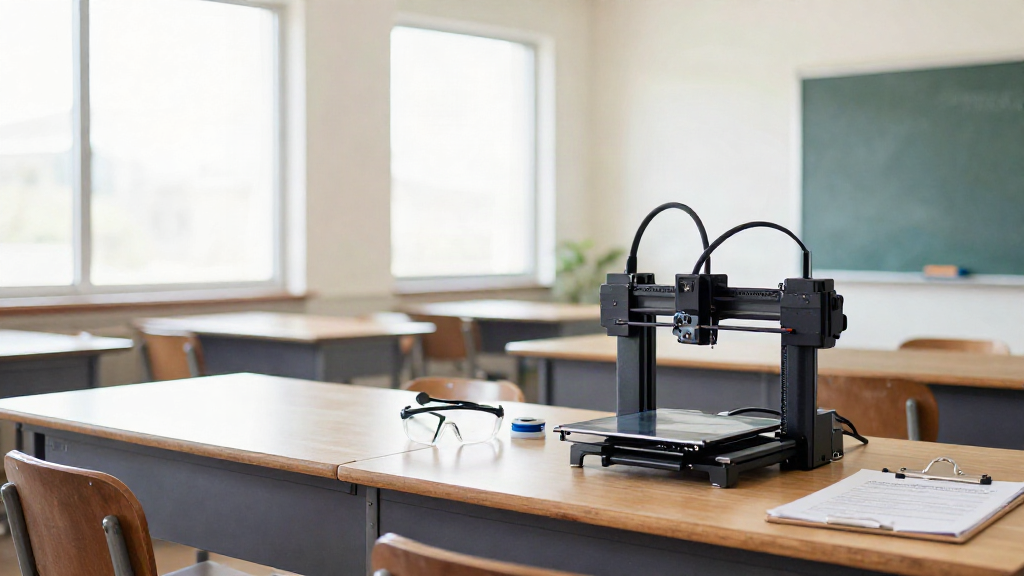
Classroom 3D Printing Safety Checklist: What K-12 Teachers Need to Confirm Before the First Print
Your first class print day is exciting, and it is also the moment a few small decisions matter most. A classroom 3D printing safety checklist turns that nervous energy into a calm routine you can repeat every time you run the machine. You do not need to become a technician to do this well. You need a short list, confirmed once, that keeps students safe, protects the printer, and lets you get back to teaching.
This guide walks through the room, material, and people checks that matter for beginners. It ends with a printable pre-print routine your students can follow alongside you, so safety becomes something the whole class runs together instead of a rule you have to enforce alone.
Why a written safety checklist matters before your first class print day
A 3D printer is not dangerous when you understand it, but it is genuinely new to most K-12 classrooms. The nozzle and heated bed reach temperatures that can burn, some materials release fumes when heated, and the machine moves on its own while it runs. A written checklist removes the guesswork from all of that.
The bigger reason to write it down is consistency. When the same steps happen in the same order every time, students learn them quickly and can help run them. You also have a clear document if an administrator, parent, or safety lead asks how your makerspace is managed. That single page answers the question before it becomes a meeting.
A word on materials: PLA, the most common beginner filament, is widely considered the easiest and lowest-odor choice for classrooms. That is where most teachers start, and it is where this checklist points you. Always confirm your own district’s safety policy and the manufacturer’s guidance for any material before you load it.
The room checks: ventilation, surfaces, and fire basics
Confirm these before a printer ever turns on:
- Ventilation: the printer sits in a space with good airflow, ideally near a window or an exhaust path that can run during prints. Avoid small, closed rooms.
- Surface: the printer rests on a stable, non-flammable surface that will not wobble. Keep the area clear of paper piles, fabric, and backpacks.
- Distance: curious hands stay an arm’s length back while the machine is running. Set the printer so students reach it only with you.
- Electrical: the printer plugs into a grounded outlet sized for the machine, with no daisy-chained power strips or extension cords running across walking paths.
- Fire readiness: know where the nearest extinguisher is and which type it is. Keep flammable items away from the heated parts.
- Clear path: you can reach the printer’s power switch and plug at any time without moving furniture.
None of this requires a lab build-out. It requires ten minutes of looking at the space as a safety lead would and fixing anything that gives you pause.
The material checks: filaments, temperature, and safe handling
Materials are where beginners get surprised, so keep this part simple.
- Start with PLA: it prints at lower temperatures than most alternatives and is the friendliest classroom option. Confirm your chosen filament with your supplier’s safety data.
- Know the temperatures: the nozzle and bed get hot enough to burn skin on contact. Never clear a print or check filament with bare fingers while the machine is warm.
- Store it dry: filament absorbs moisture from the air, which ruins prints. Keep spools sealed when not in use.
- Use the right tool: remove prints with the supplied scraper, never with hands. Cut filament with the cutter, not scissors that wander toward the hot end.
- Check for damage: a frayed cord, a cracked bed, or a loose heater wire means stop and inspect before the next print.
If you ever smell a sharp chemical odor or see smoke, stop the print, switch the machine off at the plug, and ventilate the room. Report it rather than restarting and hoping.
The people checks: supervision, rules, and clear roles
The safest classroom is one where students know exactly what they may and may not touch.
- Always supervise: prints run with a teacher or trained adult present. For beginners, that is non-negotiable.
- Assign roles: give students clear jobs, such as watching the first layer, keeping the area clear, or logging the print in a class journal.
- Teach the no-touch zone: hot end, heated bed, moving parts, and internal wiring are off-limits unless you are guiding a student through it.
- Wash hands: handle filament and finished prints, then wash up before eating. Some filament may contain pigments worth keeping away from snacks.
- Model it yourself: wear safety glasses when you trim or clear a print, and students will follow.
A printable pre-print routine students can follow with you
Write this on the board or laminate it by the printer, and read it aloud together the first few times:
- Printer sits stable, area clear, nothing flammable nearby.
- Ventilation on: window or exhaust running.
- Filament loaded, spool dry, correct material confirmed.
- Bed and nozzle checked for debris and damage.
- Everyone knows the no-touch zone before the start button.
- Watch the first layer together, then you keep watch while it runs.
- When the print finishes, let it cool, remove it with the scraper, and wash hands.
Run this out loud for the first three prints. After that, a student can lead the read-through while you check the machine. That handoff is the moment your STEM maker routine starts paying you back.
Troubleshooting your first print day without skipping safety
Beginner print day rarely goes perfectly, and that is normal. If the first layer will not stick, address it on a cool machine, not a hot one. If a print tangles into a blob, pause the job and let the nozzle cool before you touch anything. If a print fails halfway, treat it as a teaching moment about problem-solving rather than a reason to rush the next attempt.
Keep a simple log of what worked, what failed, and why. After a few prints you will have a short list of settings that suit your room, and setup will shrink from twenty minutes to five.
Building the checklist into your weekly STEM maker routine
The goal of a classroom 3D printing safety checklist is not paperwork. It is a repeatable setup that lets you run the printer confidently and pass that confidence to your students. Confirm the room, the material, and the people once, then reuse the same pre-print routine every time.
Start with PLA, run one simple class project, and let the checklist carry the safety load. You will spend your energy on the lesson instead of the anxiety, and your students will leave knowing how to treat real tools with respect. That is a lesson worth more than any single print.
Leave a Reply