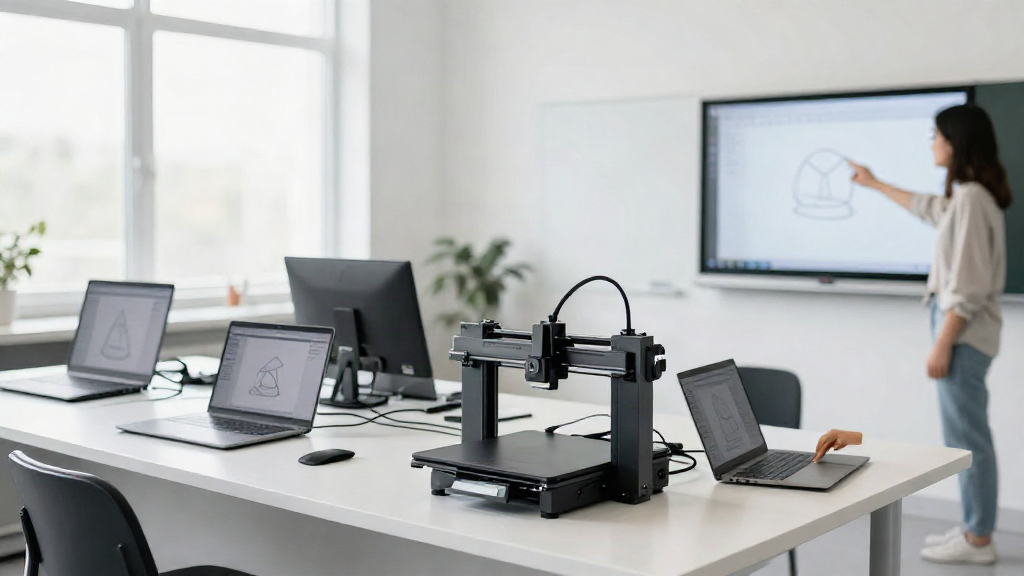
A good Tinkercad lesson plan does not need a whole week of prep behind it. It needs one clear design goal, five minutes of setup thinking, and a sequence you can actually finish before the bell. If you have ever tried to squeeze 3D design into a single class period and watched the clock win, this guide is for you.
Below is a repeatable structure you can drop any beginner 3D printing project into. You will see what to check before students open a laptop, how to pace a 40 to 50 minute period from demo to student build to export, and how to keep a room full of mixed skill levels moving at the same time.
What Students Need Before They Open Tinkercad
Most of the chaos in a first Tinkercad session does not come from the design tool. It comes from logins, shared devices, and unclear expectations. Run this five-minute readiness check before the lesson starts and most of that disappears.
First, confirm every student can log in. If you use class codes or a shared account list, test two or three logins from a student device yourself, not just from your teacher machine. A broken login discovered at minute ten can eat the whole period.
Second, decide what finished looks like for this lesson. One simple shape counts. A name keychain counts. A design that fits inside a 40 millimeter box counts. Pick one outcome and say it out loud, so students know when to stop tinkering and start exporting.
Third, set the ground rules in one short list: no deleting another student’s work, keep the default origin point, and ask a neighbor first before raising a hand. Post the list where students can see it. A visible expectation works better than repeating it five times.
Fourth, have a ready-task for early finishers. A short second challenge, like resizing their design to half scale or adding one hole, keeps fast students busy while slower ones catch up.
A Period-by-Period Tinkercad Lesson Plan
Here is a sequence that fits a standard 40 to 50 minute class. Adjust the numbers to your schedule, but keep the shape of it: short hook, short demo, long build, quick export.
Minutes 0 to 5: Hook and goal
Open with the outcome, not the software. Show a printed example or a photo of one, then name today’s goal in one sentence. Students should hear what they are making and why it matters before they touch a mouse.
Minutes 5 to 12: Teacher demo
Project your screen and build the whole object once, narrating as you go. Keep it slow and boring on purpose. Drag one shape, resize it, add one second shape, group them, then export. Seven minutes is enough if you resist the urge to show every tool Tinkercad has.
Minutes 12 to 35: Student build
Students repeat what they just watched, with the demo still visible on the projector or a screen recording. Circulate on a loop rather than parking at one desk. Most questions in this stretch are the same three or four, so answer each one out loud to the whole room as it comes up.
Minutes 35 to 45: Export and share
Stop building with ten minutes left, even if some designs are unfinished. Walk the class through export together: click Export, choose the file type you need, and name the file with the student’s name or class number. Collect the files in one shared folder so nothing gets lost between periods.
Minutes 45 to 50: Cleanup routine
Close with the same routine every time: save or export, log out, return devices, and reset the workspace. A fixed ending makes the next Tinkercad lesson start faster because students already know what the last five minutes look like.
How to Handle Mixed Skill Levels
In almost every class, some students will race ahead and others will still be hunting for the resize handles. Plan for that instead of fighting it. Pair a confident student with a beginner for the build block, and let the pair share one screen for the first ten minutes.
For students who finish early, hand them the ready-task you prepared and let them extend their own design. For students who are stuck, keep one printed or projected reference image of the finished object at each table. A picture answers the question ‘what am I supposed to be making’ faster than a verbal explanation.
If a student truly cannot get started, give them a single concrete first action. ‘Drag one box onto the workspace and make it 20 by 20 by 20’ is easier to act on than ‘start designing your object.’ Small, specific steps keep beginners from freezing.
Keeping the Lesson on Schedule
The main reason a Tinkercad lesson runs long is that the demo grows. Treat the seven-minute demo as a hard limit and practice it once before class. If a feature is not part of today’s outcome, leave it for next time.
Set visible time markers as you go. Announce the halfway point and the ten-minute warning out loud. Students pace themselves better when they know how much time is left, and you avoid the rush at the end when someone is still trying to remember where Export lives.
Finally, keep the goal small. One shape, one idea, one finished file is a complete lesson. Save the ambitious multi-part projects for a second session, once the routine and the logins are already familiar.
Run this same structure next week with a slightly harder object and you will notice the setup time shrink and the build time grow. That is the point: a Tinkercad lesson plan is not about covering everything, it is about finishing something together in the time you actually have.
Leave a Reply